Installing Brick Slips
Follow the steps below if you're going to install yourself, or show them to a tradesperson if they've never installed brick slips before. We'd always recommend using an experienced installer if you aren't doing it yourself.
Step 1 - Get Ready
Internal Preparation
Make sure everything is moved so you have space to move around, there are dust sheets down to protect surfaces, and any surfaces that are close to the tiling (such as kitchen units or worktops) are given extra protection to make sure there's no scratches or damages.We recommend that any coving, skirting boards or other aesthetic pieces are removed to give the wall a better final look, rather than having the tiles extruding above the coving for example. If you really want either of these things, you can re-apply on top of the tiles afterwards. Pull out any plug sockets and switches, to be re-attached once the project is complete.
Ensure you know where the tiles need to start in order to not end up with thin cuts or large mortar joints at either the top or ends and that any corner tiles fit nicely. You should also lay out all of the tools needed so everything is handy. Open all boxes of the tiles and ensure they are mixed together for an even spread of colour variations.
Score and Prime the wall to prepare it for the installation, making sure that there is maximum adhesion for the adhesive and tiles.
Step 1 - Get Ready
External Preparation
If you have a stable wall of breeze block or other masonry, you can tile directly onto it. For larger projects, you may still want to use our brick slip backer boards for efficiency. To perpare your masonry, simply clean anything off the wall, prime it and tile away.
Where your substrate isn't suitable for direct application, or you want the efficiency for a larger project.
You can screw the boards onto masonry, timber battens, ICF or other substrates with suitable fixings. Cut down the boards to fit and then you're ready to tile, following the grooved out courses for simple and fast installation.
You can screw the boards onto masonry, timber battens, ICF or other substrates with suitable fixings. Cut down the boards to fit and then you're ready to tile, following the grooved out courses for simple and fast installation.
For projects over 12m in height, you'll need to use a railed system. The system involves cutting grooves into the brick slips so they can be slid into the system without adhesive. Contact us for more information as these will be bespoke to your project.
Step 2 - Tiling
Installing The Slips
Using a paddle mixer, mix the adhesive to a smooth paste that holds when you create peaks in the mixture. Ensure there aren't any lumps of dry powder left, we recommend a flexible bucket to help cleaning once finished. Mix it regularly as you go to keep the consistency, you can add a splash of water- but not too many times to the same mix.
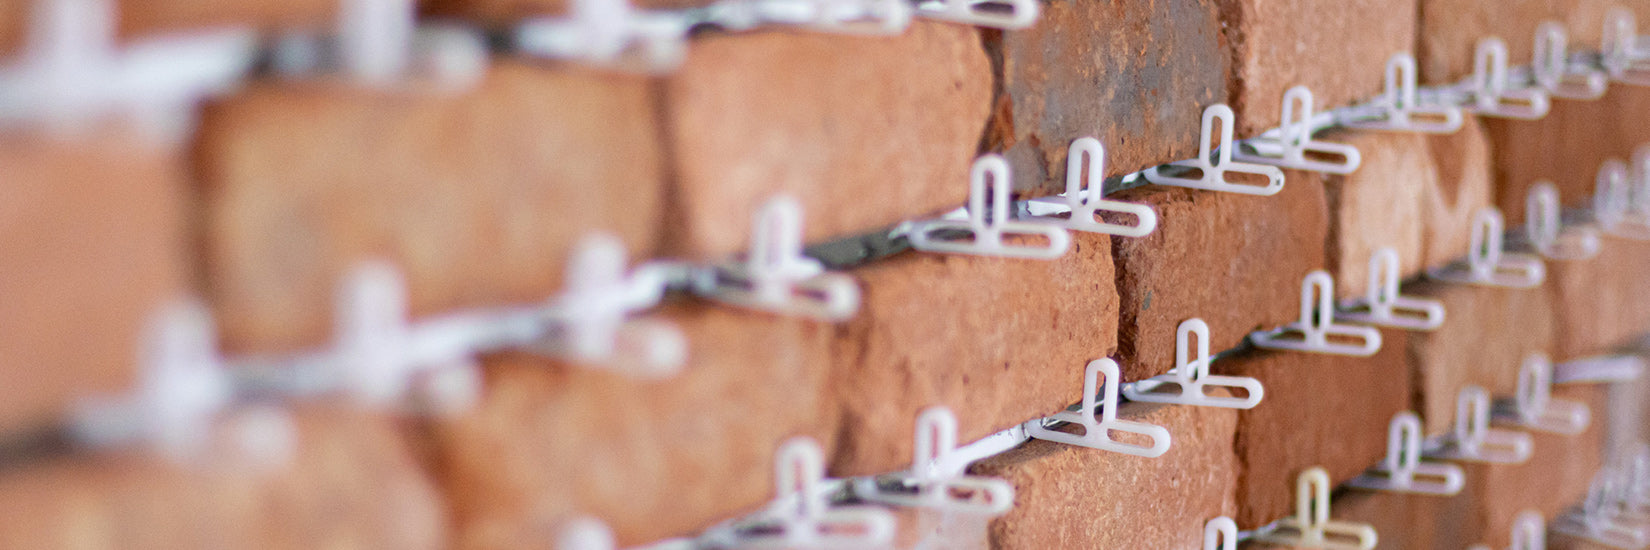
Starting at the bottom- in the centre, or at the external corners if you need them, use an adhesive trowel to spread a cm on the wall, and apply it to each tile before pressing firmly on the wall with slight movement to make it stick nicely, and insert the required amount of spacers in between (it may be 1 for contemporary brick slips or up to 3 for reclaimed brick slips where there is a rustic tile). Make sure that all the tiles are curving or have their creases upwards (smiling bricks, not frowning), they are made by pushing them down into a mould, so the creases or slight misshaping in that way comes from this process.
You may wish to use a spirit level as you proceed just to check that more tumbled brick tiles are still reasonably level. Some people even use a strip of wood rather than spacers to ensure a completely straight mortar line.
You may wish to use a spirit level as you proceed just to check that more tumbled brick tiles are still reasonably level. Some people even use a strip of wood rather than spacers to ensure a completely straight mortar line.
3. Cut the tiles
When you reach the end of a row, you will more than likely need to cut the tile to finish that row, you'll also need to cut to tile around sockets and switches.
To cut the tiles, use an angle grinder, a multi tool, a tile cutter (electric or manual), or just a brick bolster and hammer can do the job for cutting down at the end of each course.
Continue to tile upwards as previously, with a section of adhesive applied at a time, you can tile all the full tiles first and cut the edges at the end.
Once you've tiled the full surface, use a stiff brush to make sure there's no adhesive left on your tiles.
Now you can clear away most of your items, with only the pointing mortar to apply. The adhesive needs to dry however so it's advisable to leave it for 24 hours.
Now you can clear away most of your items, with only the pointing mortar to apply. The adhesive needs to dry however so it's advisable to leave it for 24 hours.
Step 3 - Apply the Mortar
Pointing Your Wall
Make sure you protect your surfaces from getting mortar on them with a dust sheet again, and remove all the spacers from the wall, they should come out easily, but you can use pliers to remove them if not.
Mix Your Mortar together to a smooth paste that will slip off a trowel but hold its form still in the bucket. Then you can add it to your pointing gun ready to apply.
You'll need between 3.5 and 4.5 litres of water to mix a full bag to the right consistency.
For our 22mm slips, the bag will cover around 3.5m² of Stretcher Bond or Herringbone, 3m² flemish bond and around 2.5m² of English bond.
Using the mortar gun or piping bag, apply into the gaps- you may want to bear in mind what joint profile you want (see our mortar guide for more information) as to how much you want to apply.
To finish the profile, use a pointing trowel and smooth out the joints as you want them from the mortar application.
Using a stiff brush, clean any excess mortar from the brickwork before it dries, and then you can clean up the room. Do not wipe the wall in any way as you may well end up smearing mortar across the bricks. The only way to clean that off is with brick acid.
Step 4 - Final Touches
Aftercare
After 12-24 hours the mortar will have dried enough that you can re-fit switches and sockets. The full drying process can potentially take a week depending on the conditions.
You don't necessarily need to wait for everything to dry, but you don't want to risk moving any mortar before it's set to refit. You could well need longer screws to refix the plates back, accounting for the thickness of the tiles.
*If desired
Depending on where your brick slips are, you may want to apply a brick slip sealant to protect them from moisture and potentially food splashes. Make sure the installation is bone dry, then simply paint on the brick sealant. It will take some time to get back to the original colour.
Depending on where your brick slips are, you may want to apply a brick slip sealant to protect them from moisture and potentially food splashes. Make sure the installation is bone dry, then simply paint on the brick sealant. It will take some time to get back to the original colour.
If you're hanging art, a shelf, a television, or anything else on your wall- you'll need a masonry drill bit to go through the slips. Make sure you use screws and raw plugs that are at least 35mm long to make sure they go through the bricks and substrate.
Shop Our Collections
Navigate through our collections to find the perfect brick slips for your space.


